Import entries - manual entry
Table of Contents
This is how you import entries into bexio with app.importly.ch:
Free registration
No account yet? Register on app.importly.ch with your email address and set a password. Then you are ready for the next step.
Connect your bexio account with app.importly.ch
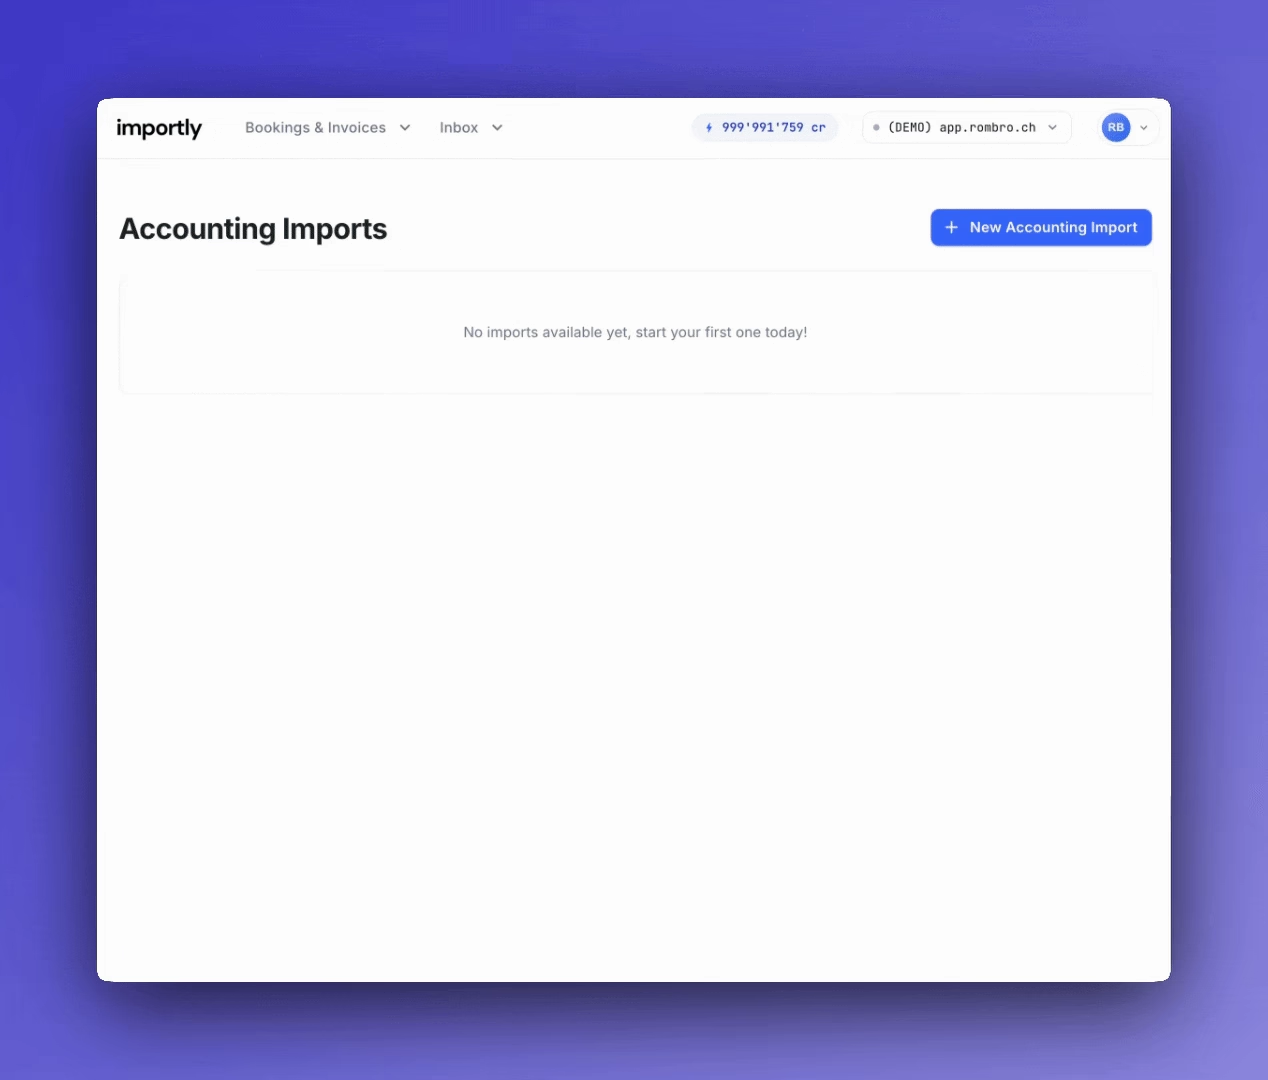
Connect your bexio account here and create a connection to your accounting. You can connect as many bexio accounts as you need with app.importly.ch.
Create a table
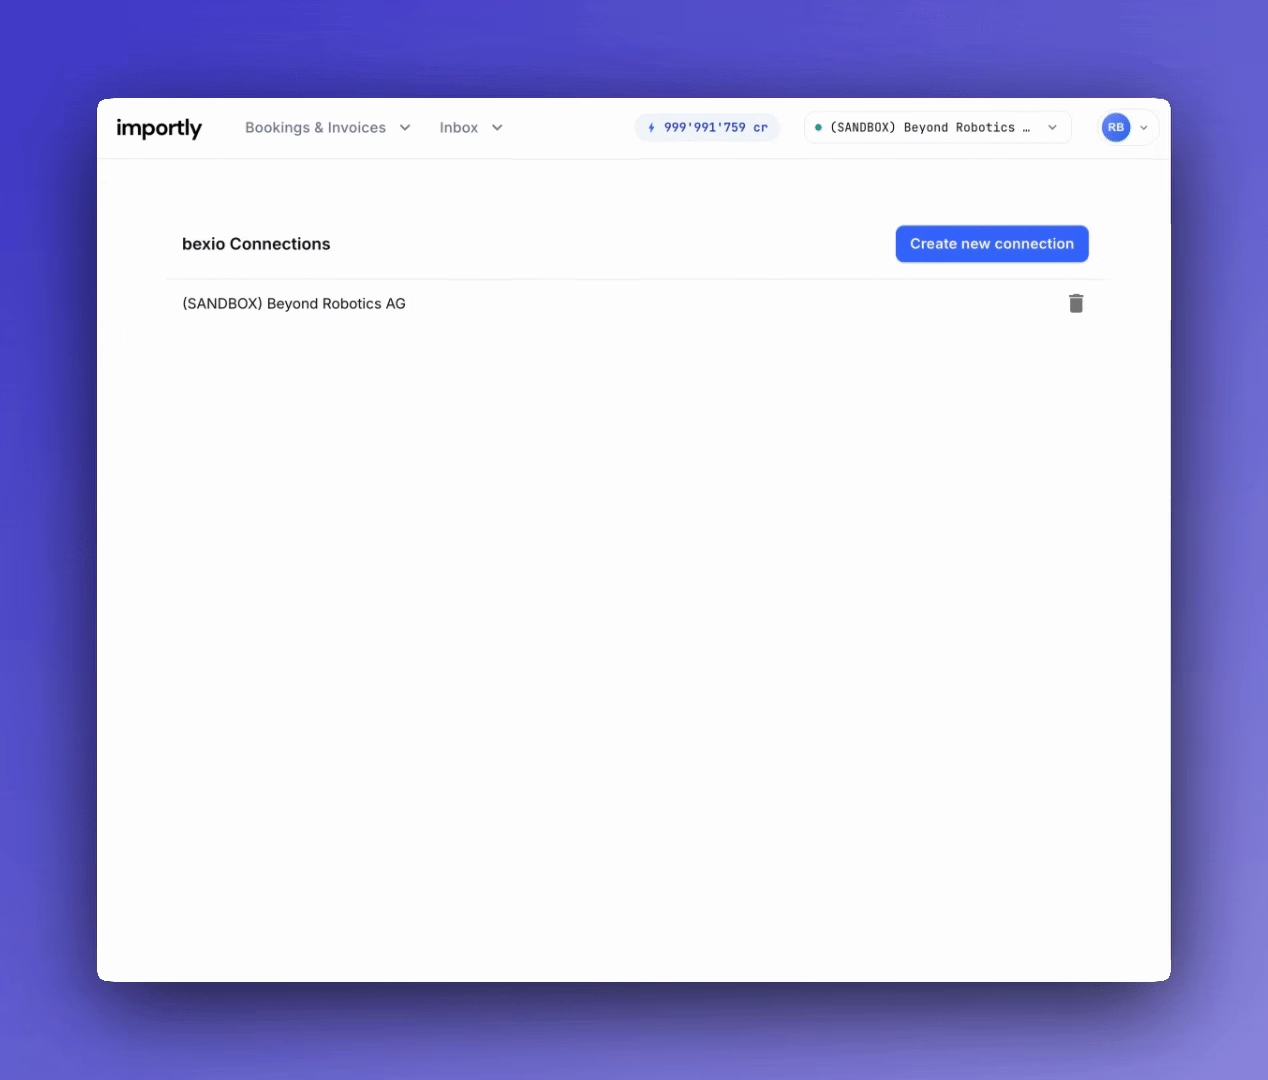
Ready for the import? Create a table under Account - Import entries. Give the table a name and choose the bexio account into which you want to import the entries.
Copy the entries into the table
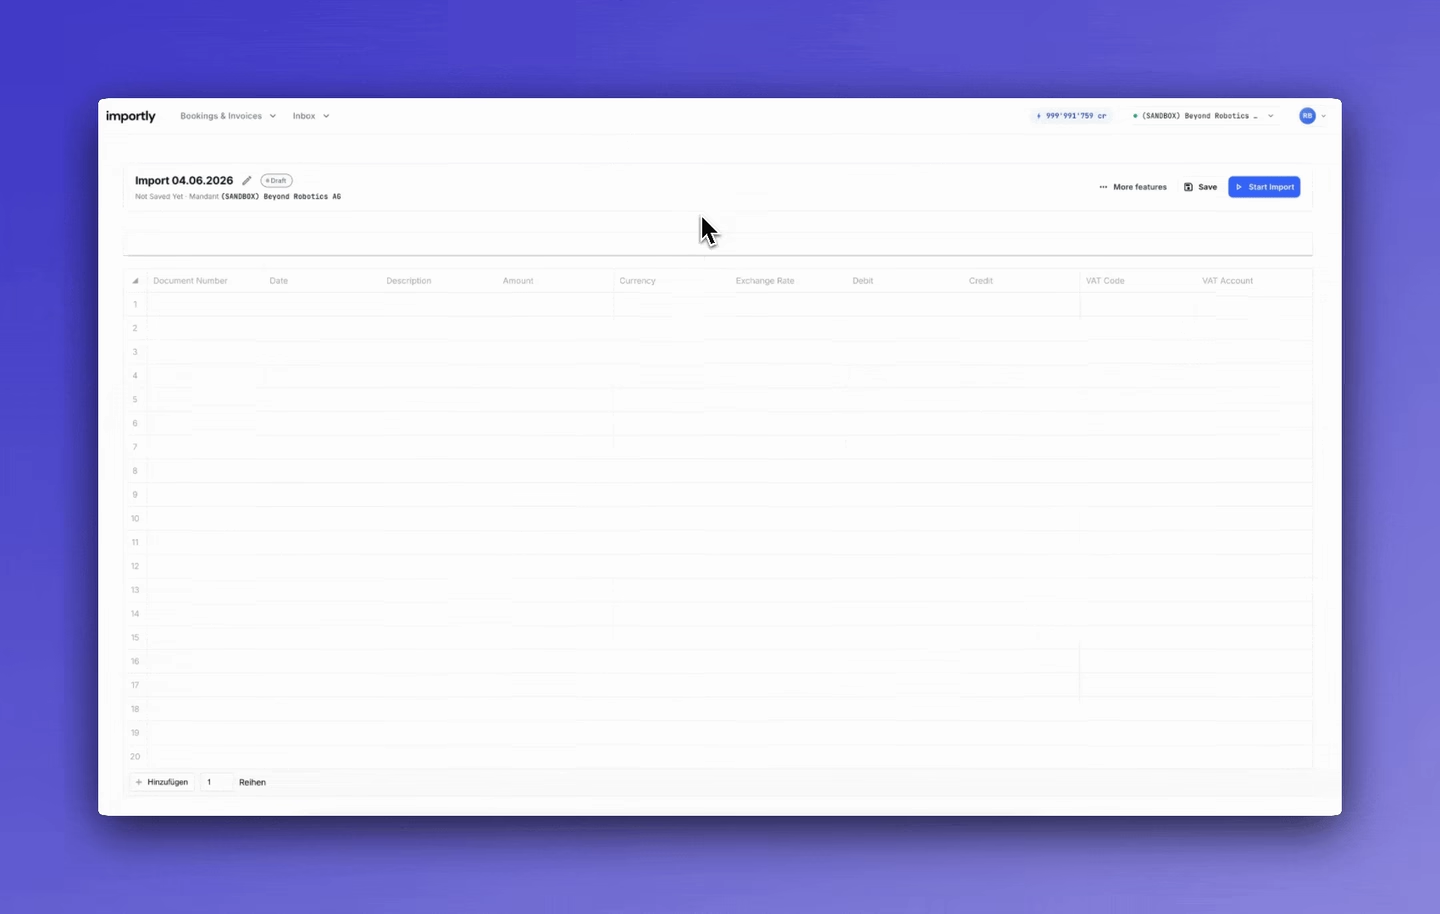
Now copy your entries into the table. If they are not formatted exactly like in this example, you can also copy them column by column. Afterwards, check a few entries to make sure everything was copied correctly.
Columns and required fields at a glance
The import table contains the following columns. Here you can see which fields must be filled in and which are optional:
| Field | Example | Notes | Required |
|---|---|---|---|
| Document Number | import_001 | Free text field, max. 100 characters | No |
| Date | 31.01.2026 | Format DD.MM.YYYY | Yes |
| Description | Rent January | Free text field, max. 255 characters | No |
| Amount | 1500 | Entry amount in the specified currency | Yes |
| Currency | CHF | Must match a currency in your bexio, usually the ISO abbreviation (e.g. CHF, EUR) | Yes |
| Exchange Rate | 0.93 | Rate against the base currency. For entries in the base currency (usually CHF) the field stays empty | Yes, for foreign currency |
| Debit | 6000 | Account number according to your bexio chart of accounts | Yes |
| Credit | 1020 | Account number according to your bexio chart of accounts | Yes |
| VAT Code | VB81 | Must match a tax rate in your bexio master data (Tax rates) | No |
| VAT Account | 6000 | Account used to settle the VAT – either the debit or the credit account of the entry | Yes, if a VAT Code is provided |
For more on the VAT Account field – and the error message “VAT account must be either debit or credit” – see the article bexio error: VAT account must be debit or credit.
Alternative: import entries via CSV file
Instead of copying the entries into the table, you can also upload them as a CSV file. In your import table, open the More features menu, choose Import files and then the CSV format. After that, upload your file.
Requirements for the CSV file
- The file is UTF-8 encoded.
- The comma is used as the column separator.
- If a field itself contains a comma (e.g. in the description), the value must be wrapped in double quotes:
"Rent, April". Commas inside quotes are not treated as column separators. When exporting a CSV file from Excel or Google Sheets, these quotes are added automatically. - The first row contains the column headers.
- The decimal separator for the amount is the period (e.g.
1500.50).
Note: Depending on your regional settings, some programs (e.g. Excel) export CSV files with a semicolon as the separator. In that case, save the file with a comma as the column separator.
Note: Quotes that are part of the text itself are written as double quotes ("") on export and removed on import. Check such fields briefly in the table after importing.
Mapping via column headers
Your data is matched via the column headers, not by the position of the columns. Your CSV file must therefore use the same headers as the import table – the order of the columns does not matter.
This is what a valid CSV file looks like:
Document Number,Date,Description,Amount,Currency,Exchange Rate,Debit,Credit,VAT Code,VAT Account
import_001,31.01.2026,Rent January,1500,CHF,,6000,1020,VB81,6000
import_002,28.02.2026,"Rent February, incl. utilities",1500,CHF,,6000,1020,VB81,6000
The second row shows a description with a comma: thanks to the quotes, Rent February, incl. utilities is read as a single field.
A ready-made template with the correct column headers is available in the article bexio entry import template (Excel, CSV, Google Sheets).
Start the import
Use the Start import button to start the import. Each row is imported into bexio as a separate entry. If you want to wait before importing, you can leave the table via the Save button.